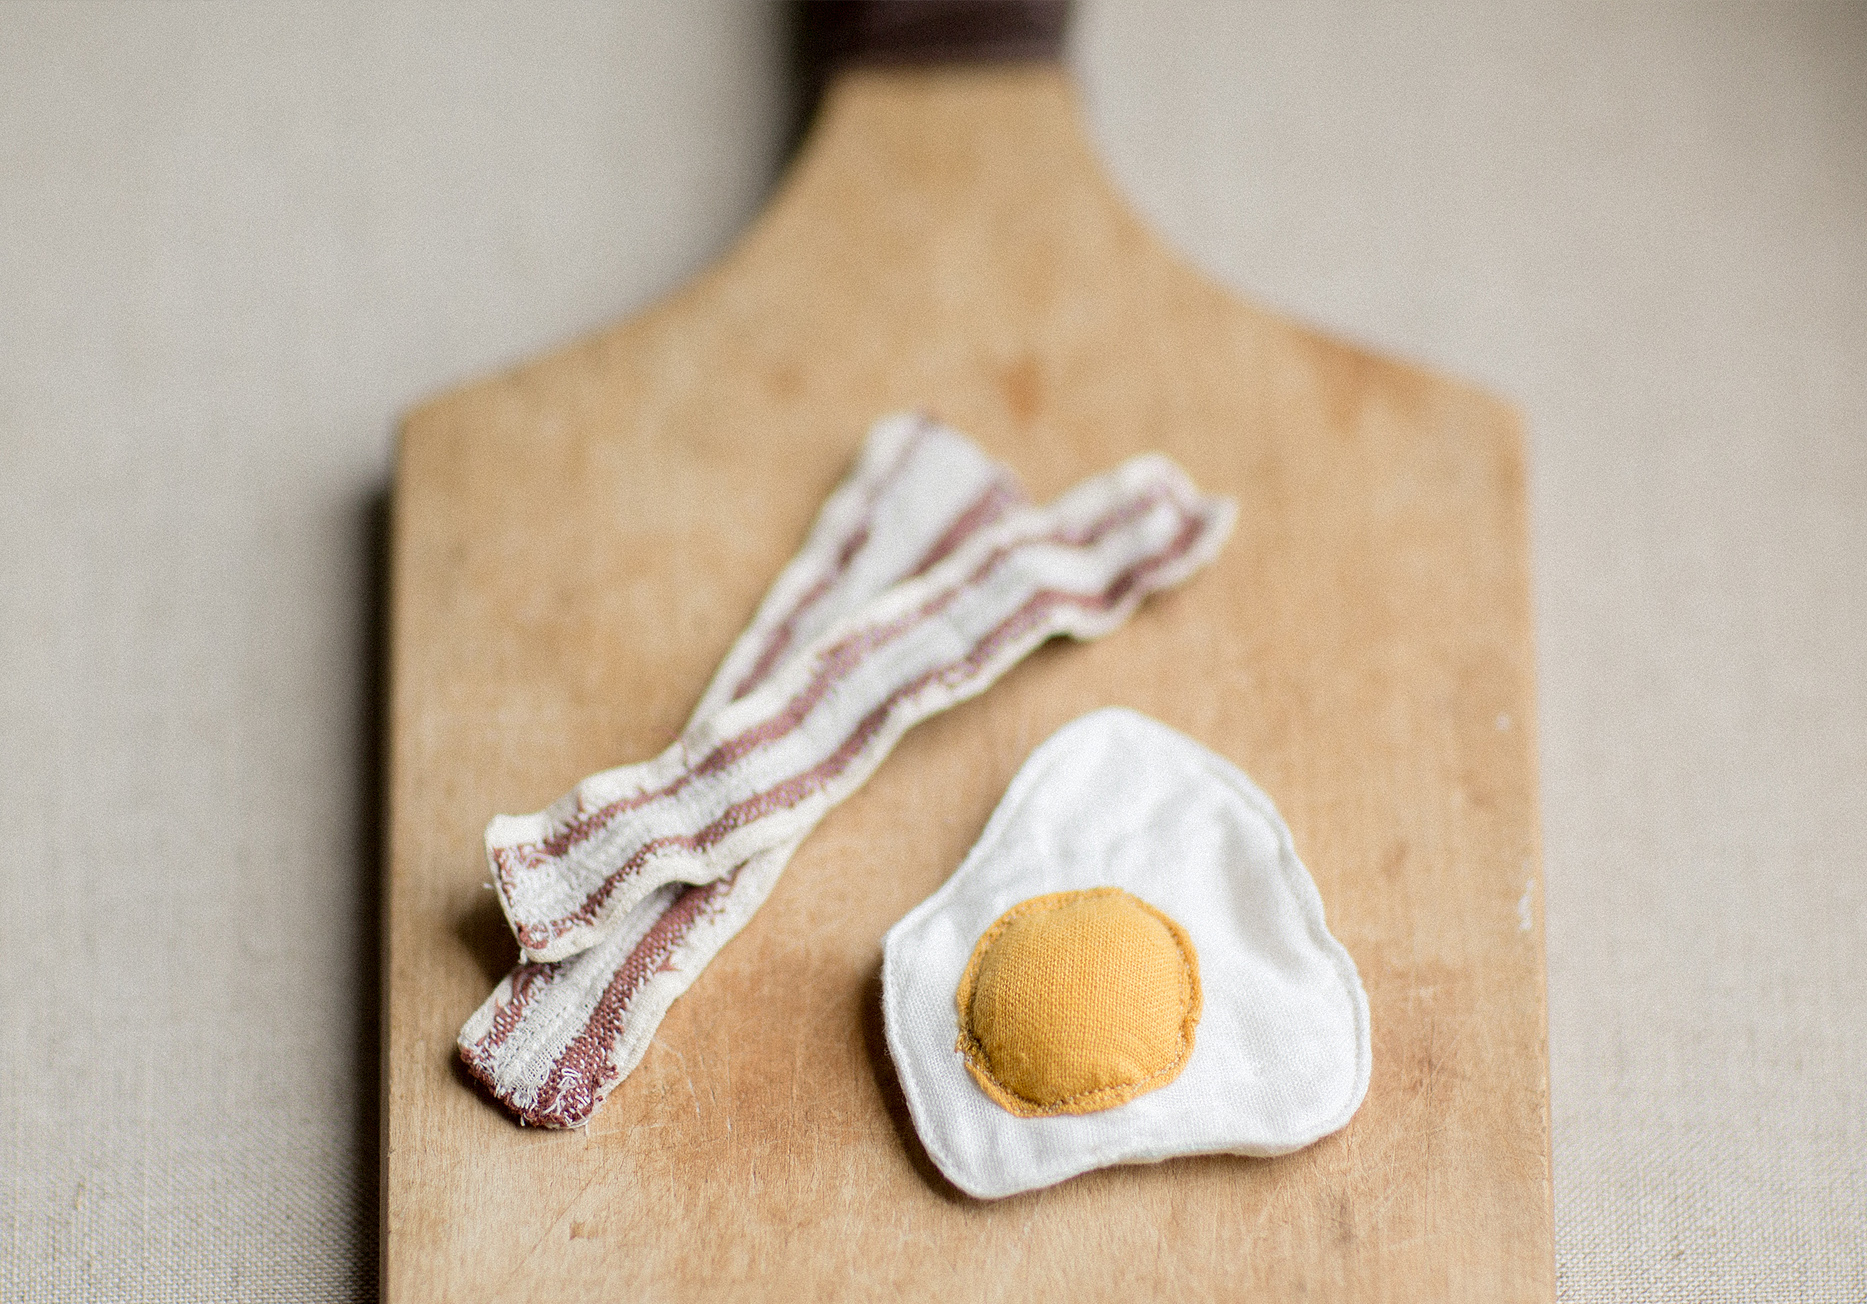
This week, I am working on adding a few new food items to our play kitchen. We have a handful of staples that are always available for play, and then I rotate out a few of the extras or seasonal foods to keep the space fresh and interesting. As a side note, I’m not as on point with a rotation schedule as I’d like to be, and our play kitchen sees daily use regardless. However, I do notice a significant difference in how the kids play, and even interact with one another through pretend play when we change things up from time to time.
Currently, my focus is making a few breakfast items. I picked up these hollow wooden eggs from the spring sale at Michael’s, so I’m starting by making a few eggs sunny side up to fit inside.
Watch a video of the making process on Instagram here.

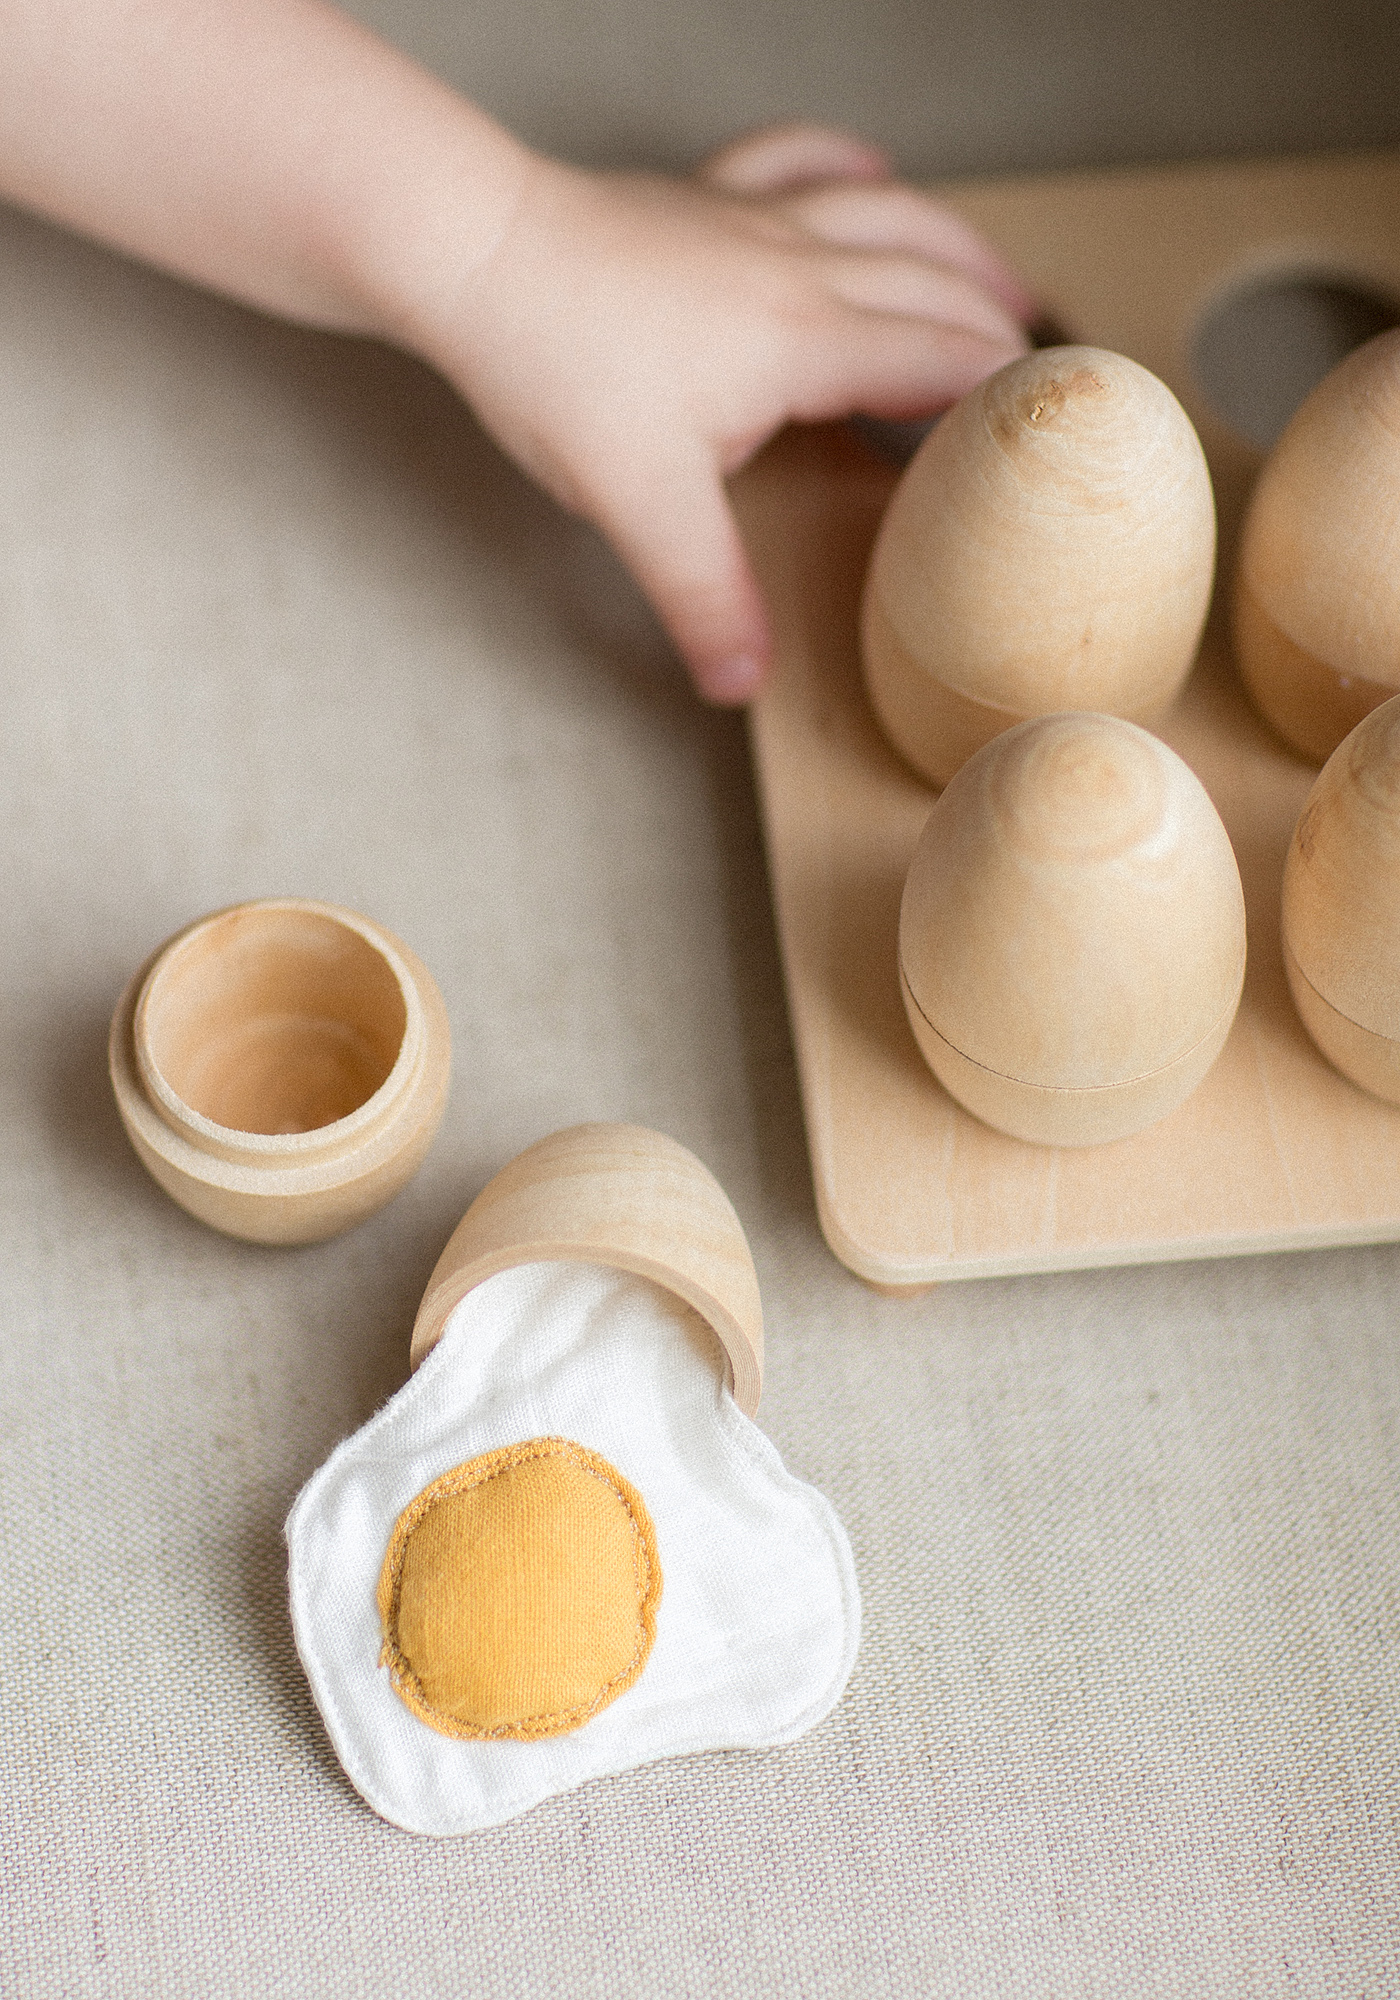
Fabric play food is commonly made out of felt, which, in my experience, is easier to work with (especially if you do not have a sewing machine). In this case, though, I’m using cotton and linen fabric scraps I had on hand. I’m quite pleased with the results – both aesthetically, as well as for the texture/tactile experience – and will certainly go to the extra effort of using woven fabrics again in the future.
As for supplies, again, I used what I had on hand. I always save the scraps when sewing, so I had little bits of white linen and batting that were perfect for this project. If you are starting out with new fabric, you can typically order as little as 1/3 yard at the counter (online typically requires larger quantities), or the fat quarters might be a good option too (although this type of cotton is typically more smooth).
Supplies:
100% Linen (white) | 100% Cotton (yellow) | Thread (various colors) :: from my personal stash
Batting :: Amazon
Fiber Fill :: JoAnn’s
The process:
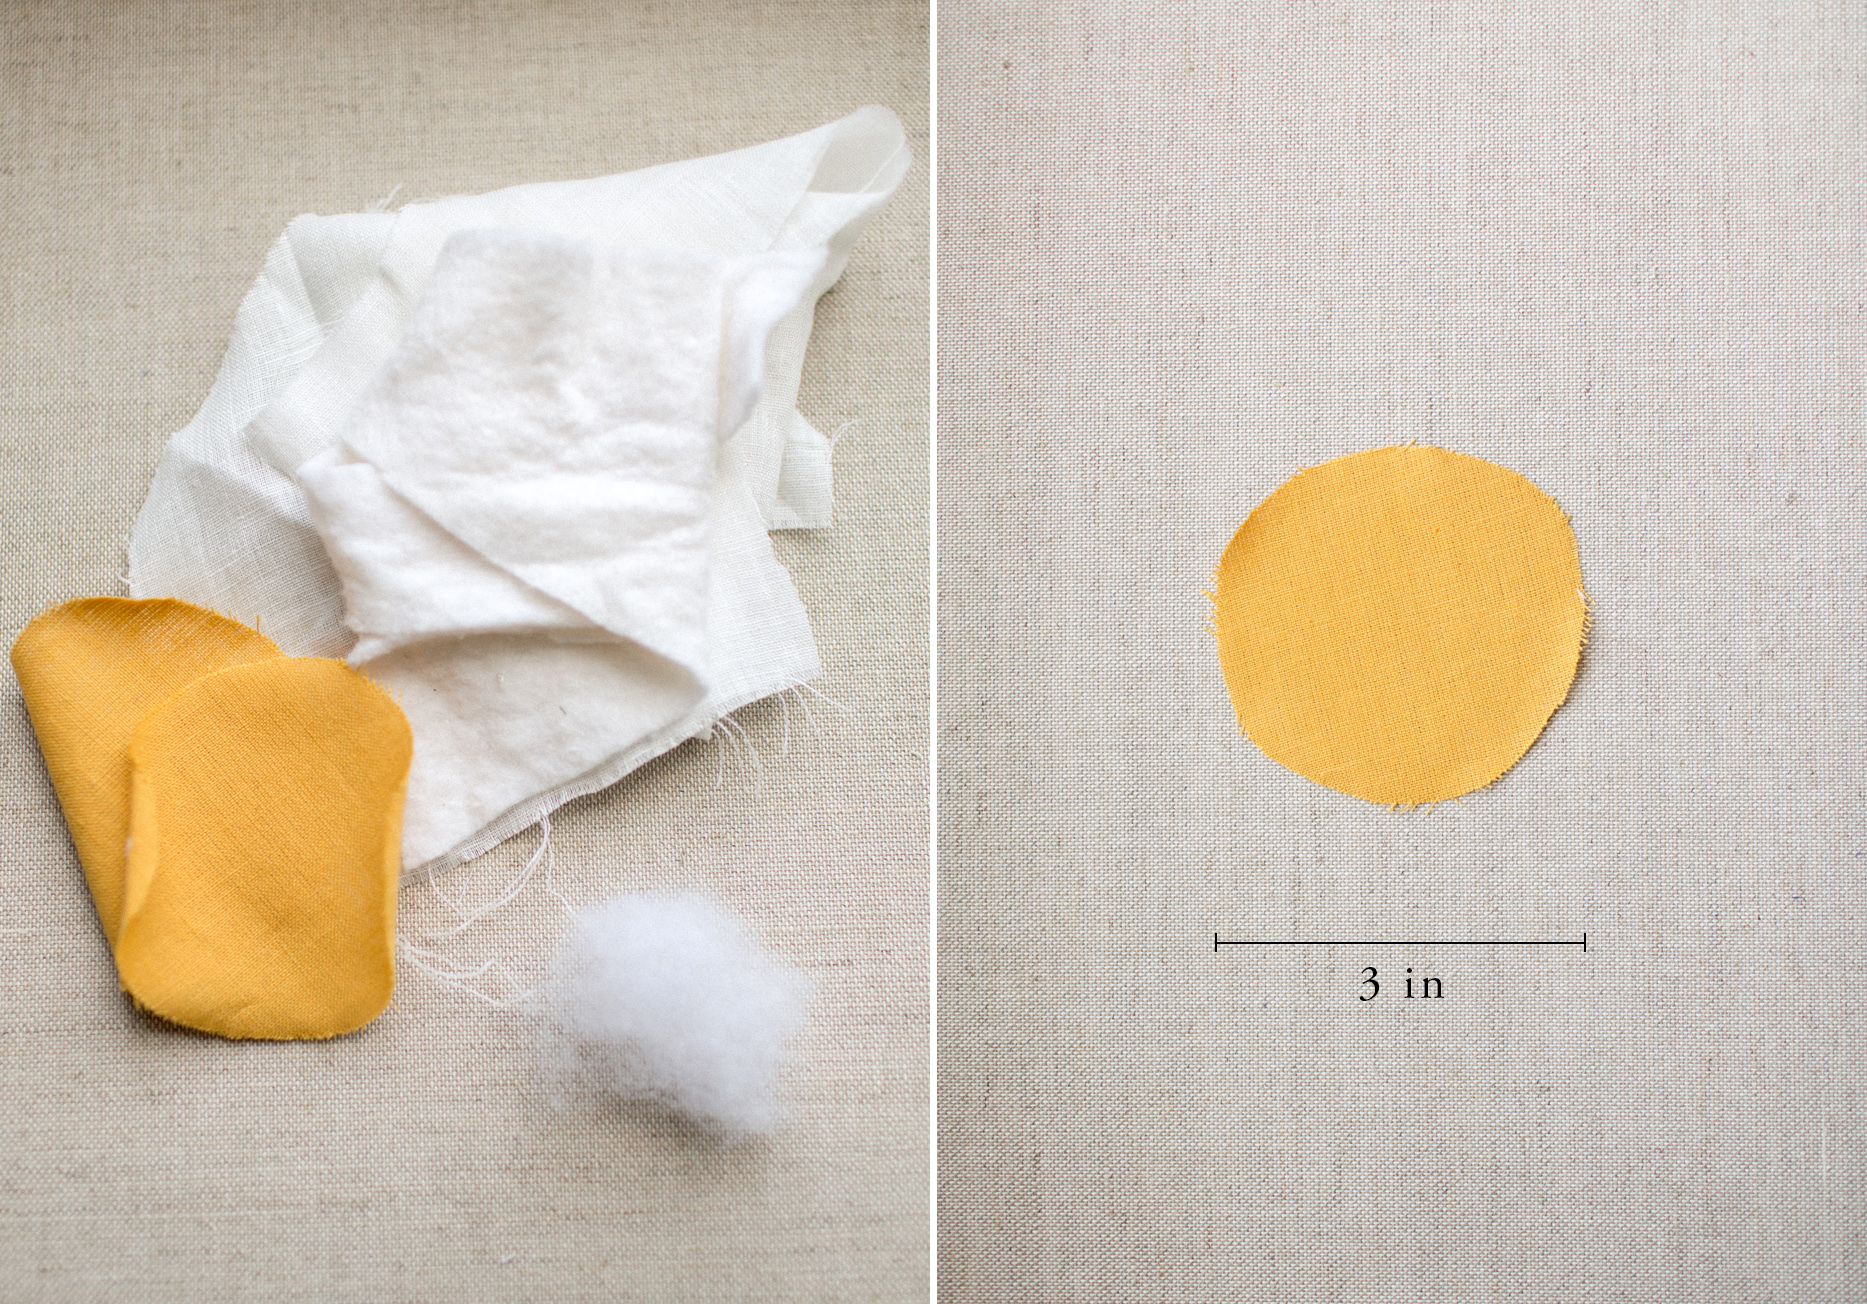
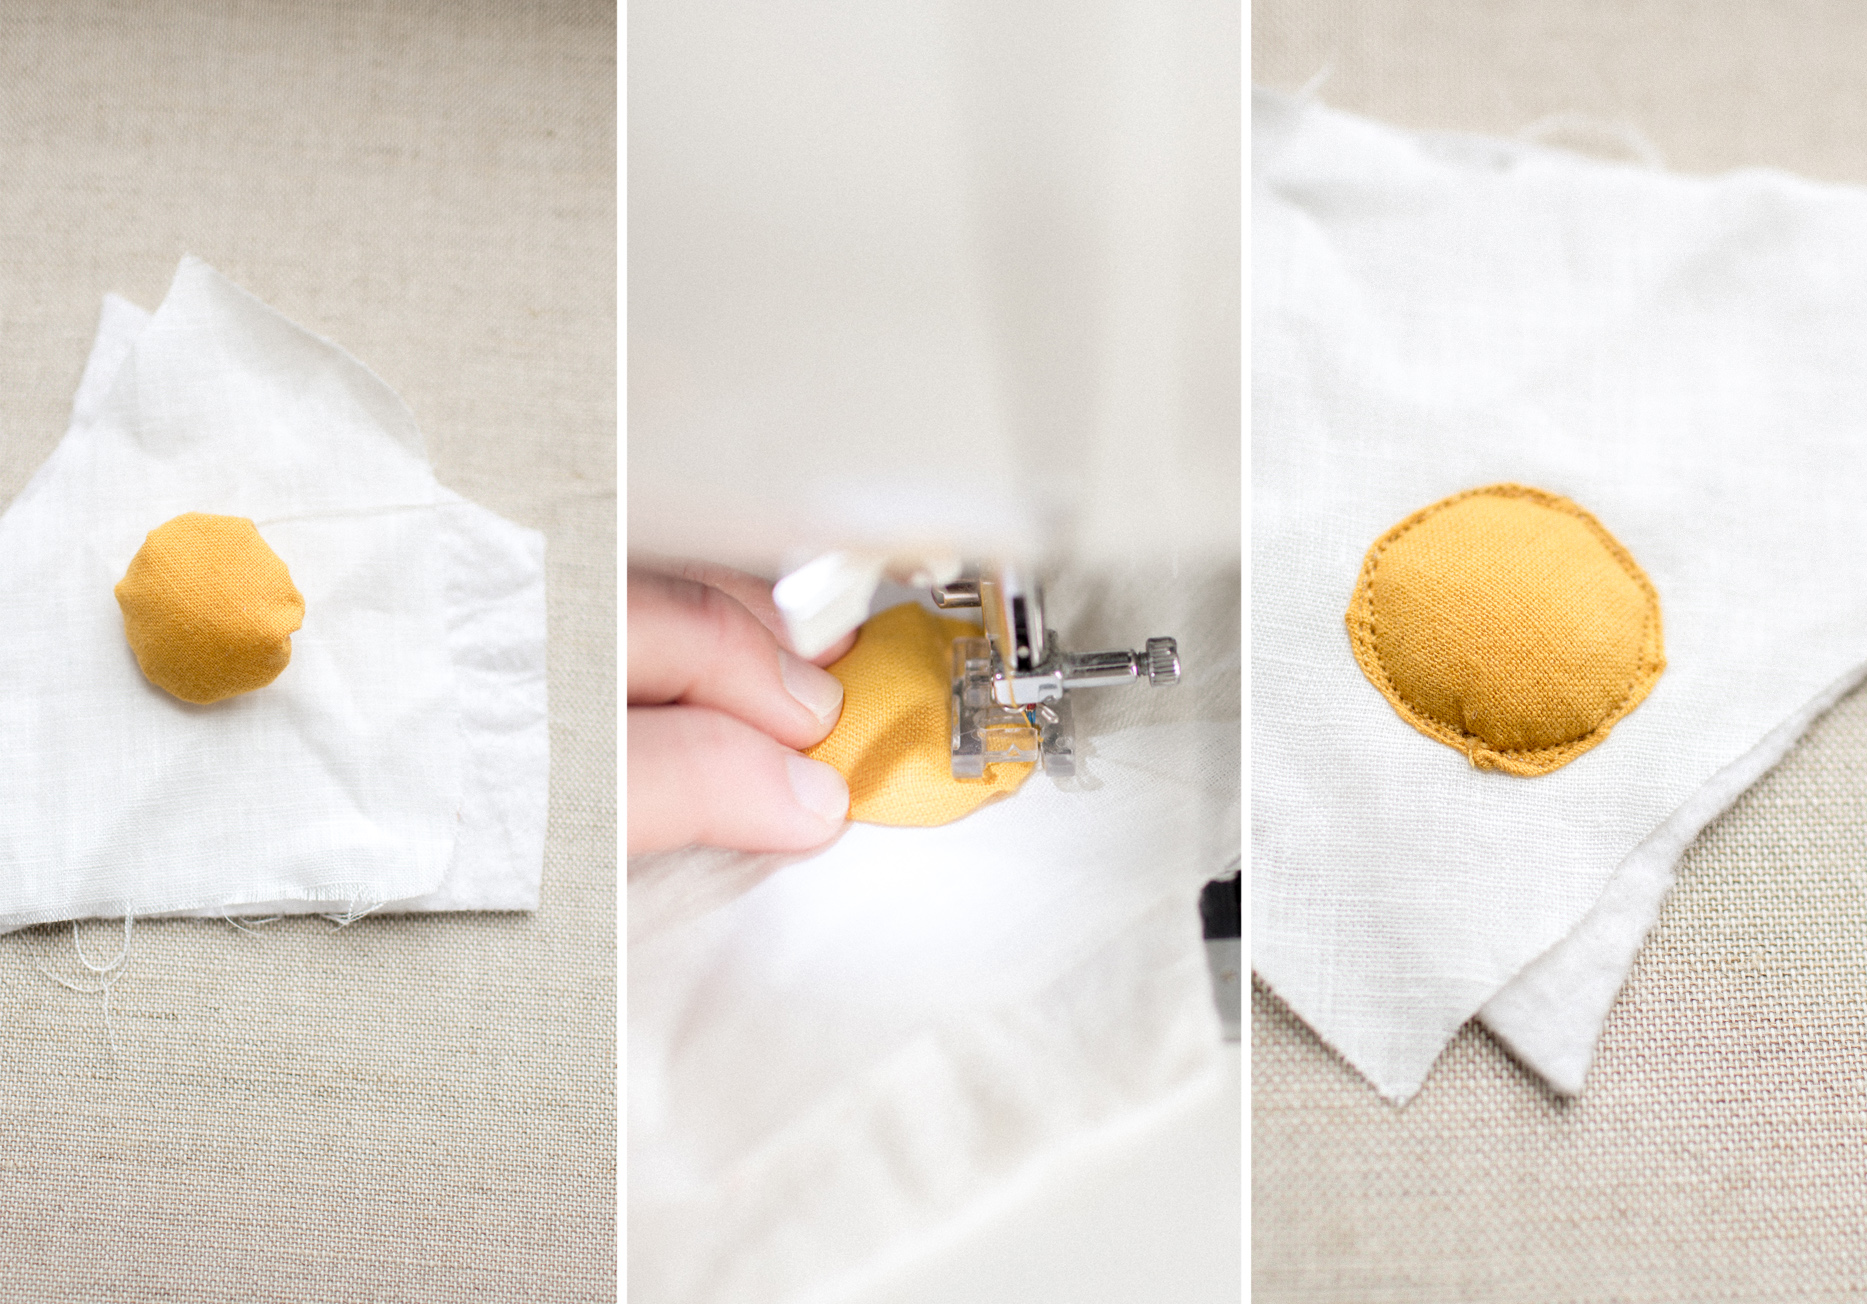
02. Sew a gather stitch (the longest setting your machine allows) around the edge of your yolk, leaving a long tail on both ends. (Do not back stitch.)
03. Put a small amount of filling inside and pull on the bobbin threads to form a small ball. You can tie those threads together at this point to hold in place.
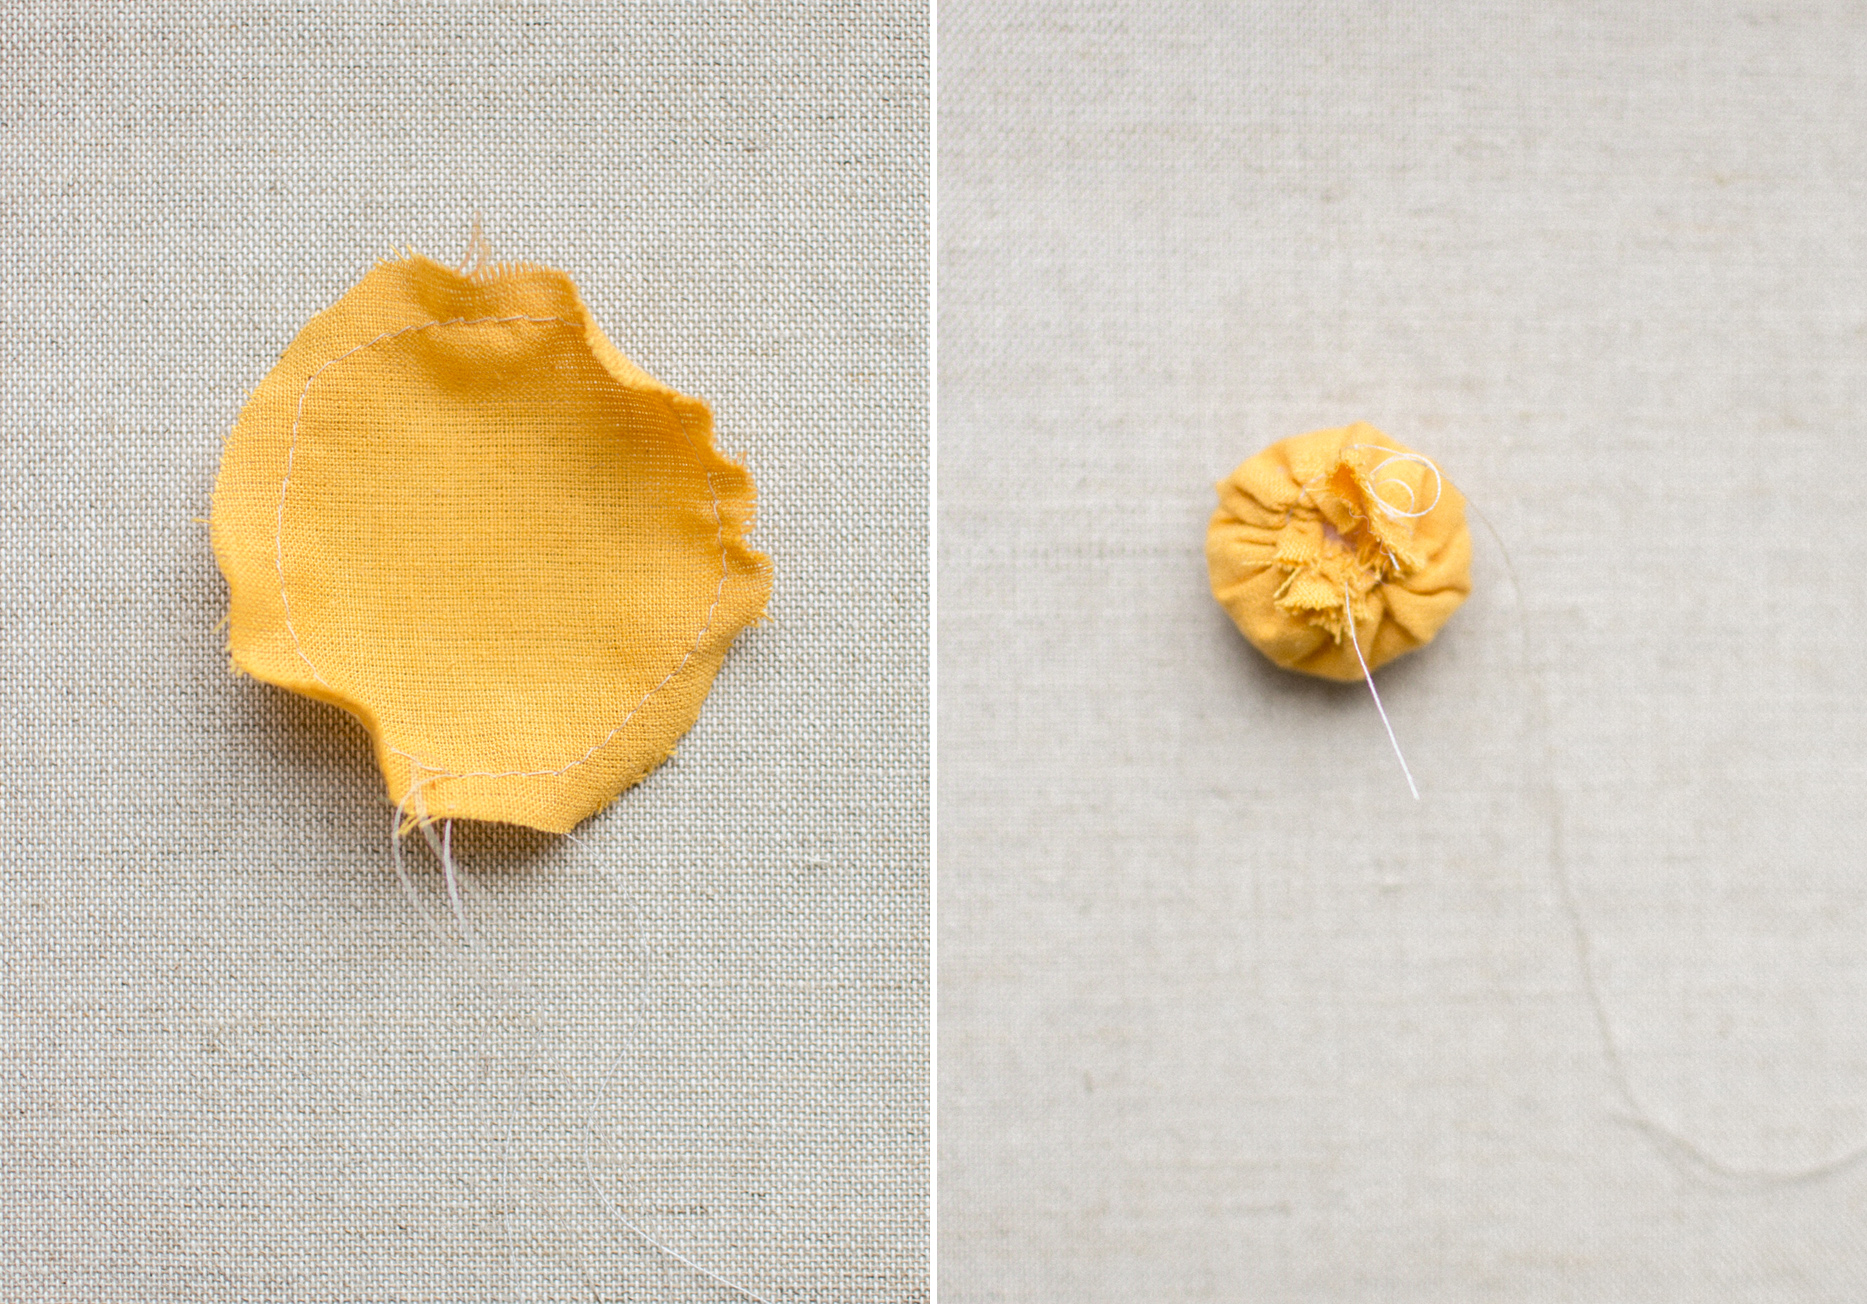
04. Sew the yolk onto the top piece of your white fabric and the batting, as shown in the images below.
05. Place the second piece of white fabric on top of what you just did, right sides facing together, so that the yolk is sandwiched in the middle.
06. Optional: Use a water soluble marker to draw the outline of your egg. I made ours to fit inside of our frying pan. There’s no exact outline here. Just think of what an egg looks like – they’re imperfect. If you’re making more than one, change it up a bit.
07. Sew around the outline of your egg white. Leave a gap to flip the right sides out. Make sure to shorten your stitch before this step. (Little reminders are always helpful to me!)
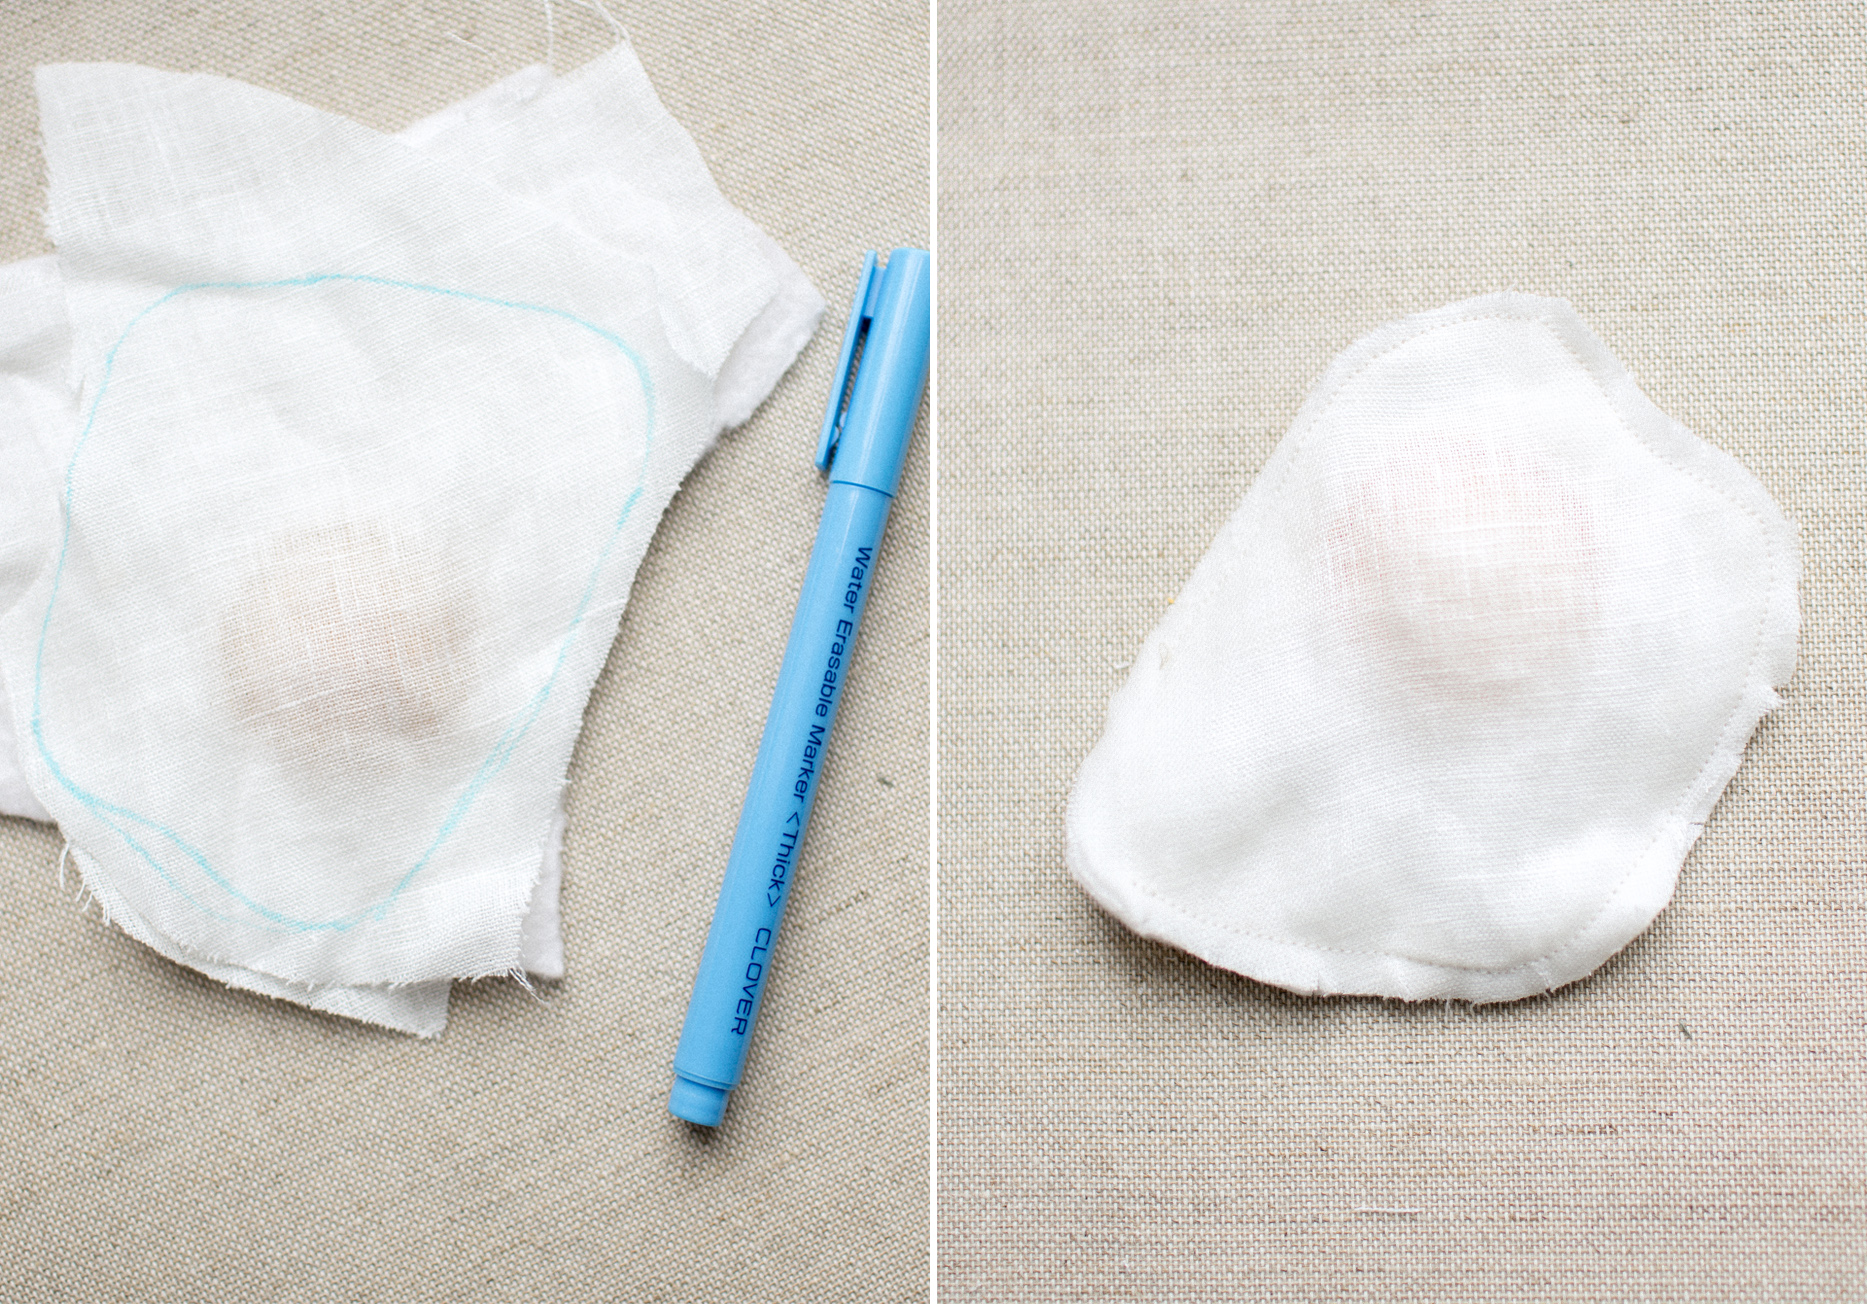
08. Sew around the edge of your egg white. Note: I always go around twice. It gives me the freedom to be less perfect about the placement of my stitching, and I find this approach adds a touch of whimsy to play items. If you prefer a more professional look, once will be sufficient.
09. Sew a handful of tufting stitches throughout the eggwhite (I did 3).
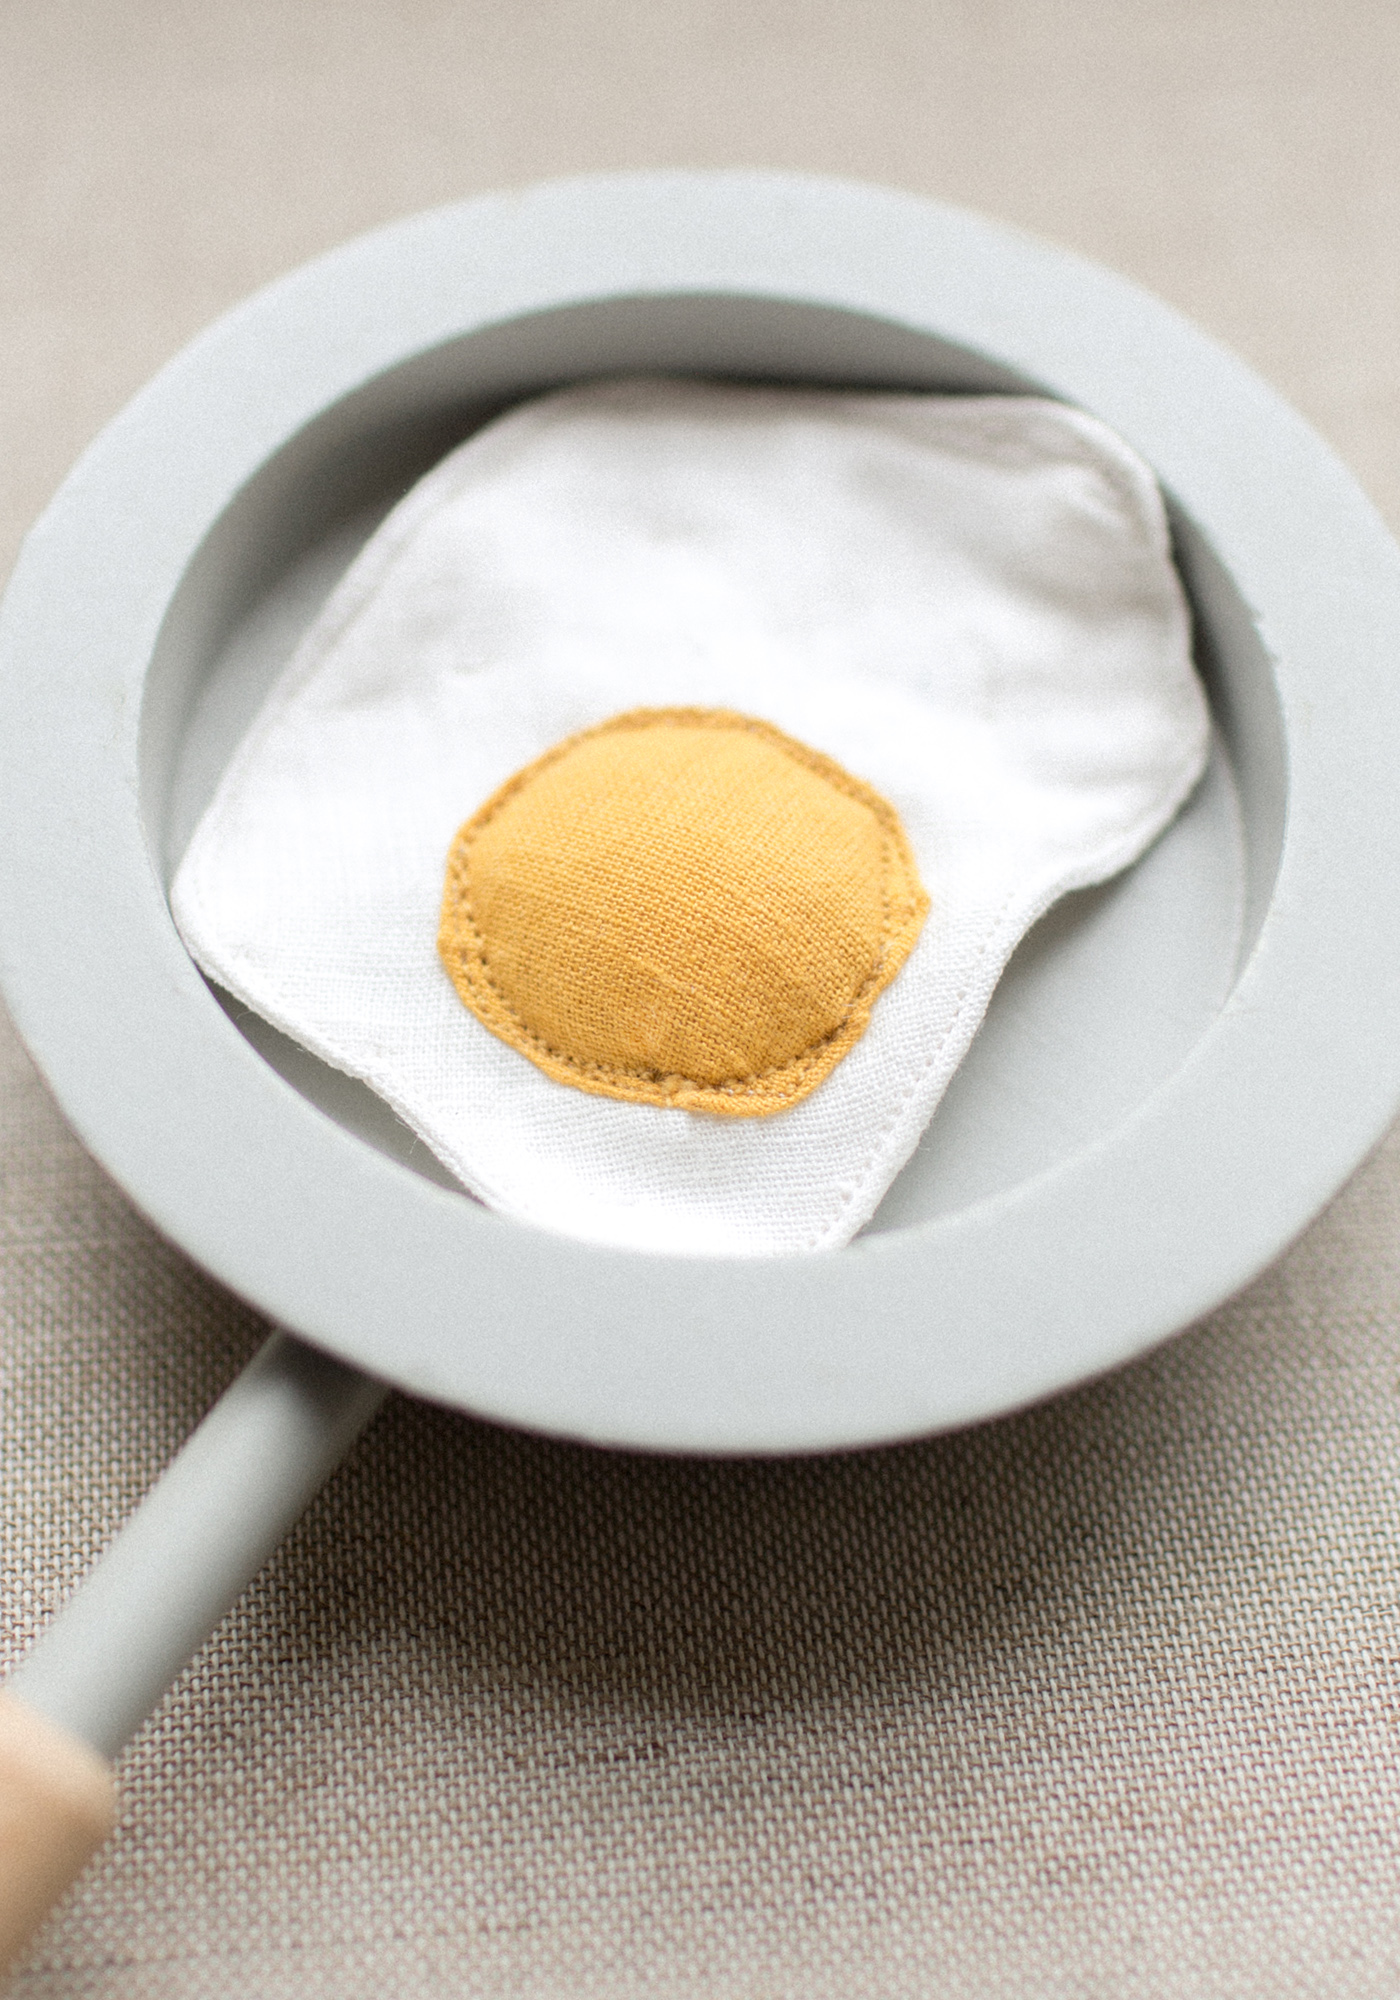
Enjoy!
If you have any questions, please don’t hesitate to send them my way!
Hugs,
m
PS… Next up, I’m sharing the process of makin’ bacon. Stay tuned!
