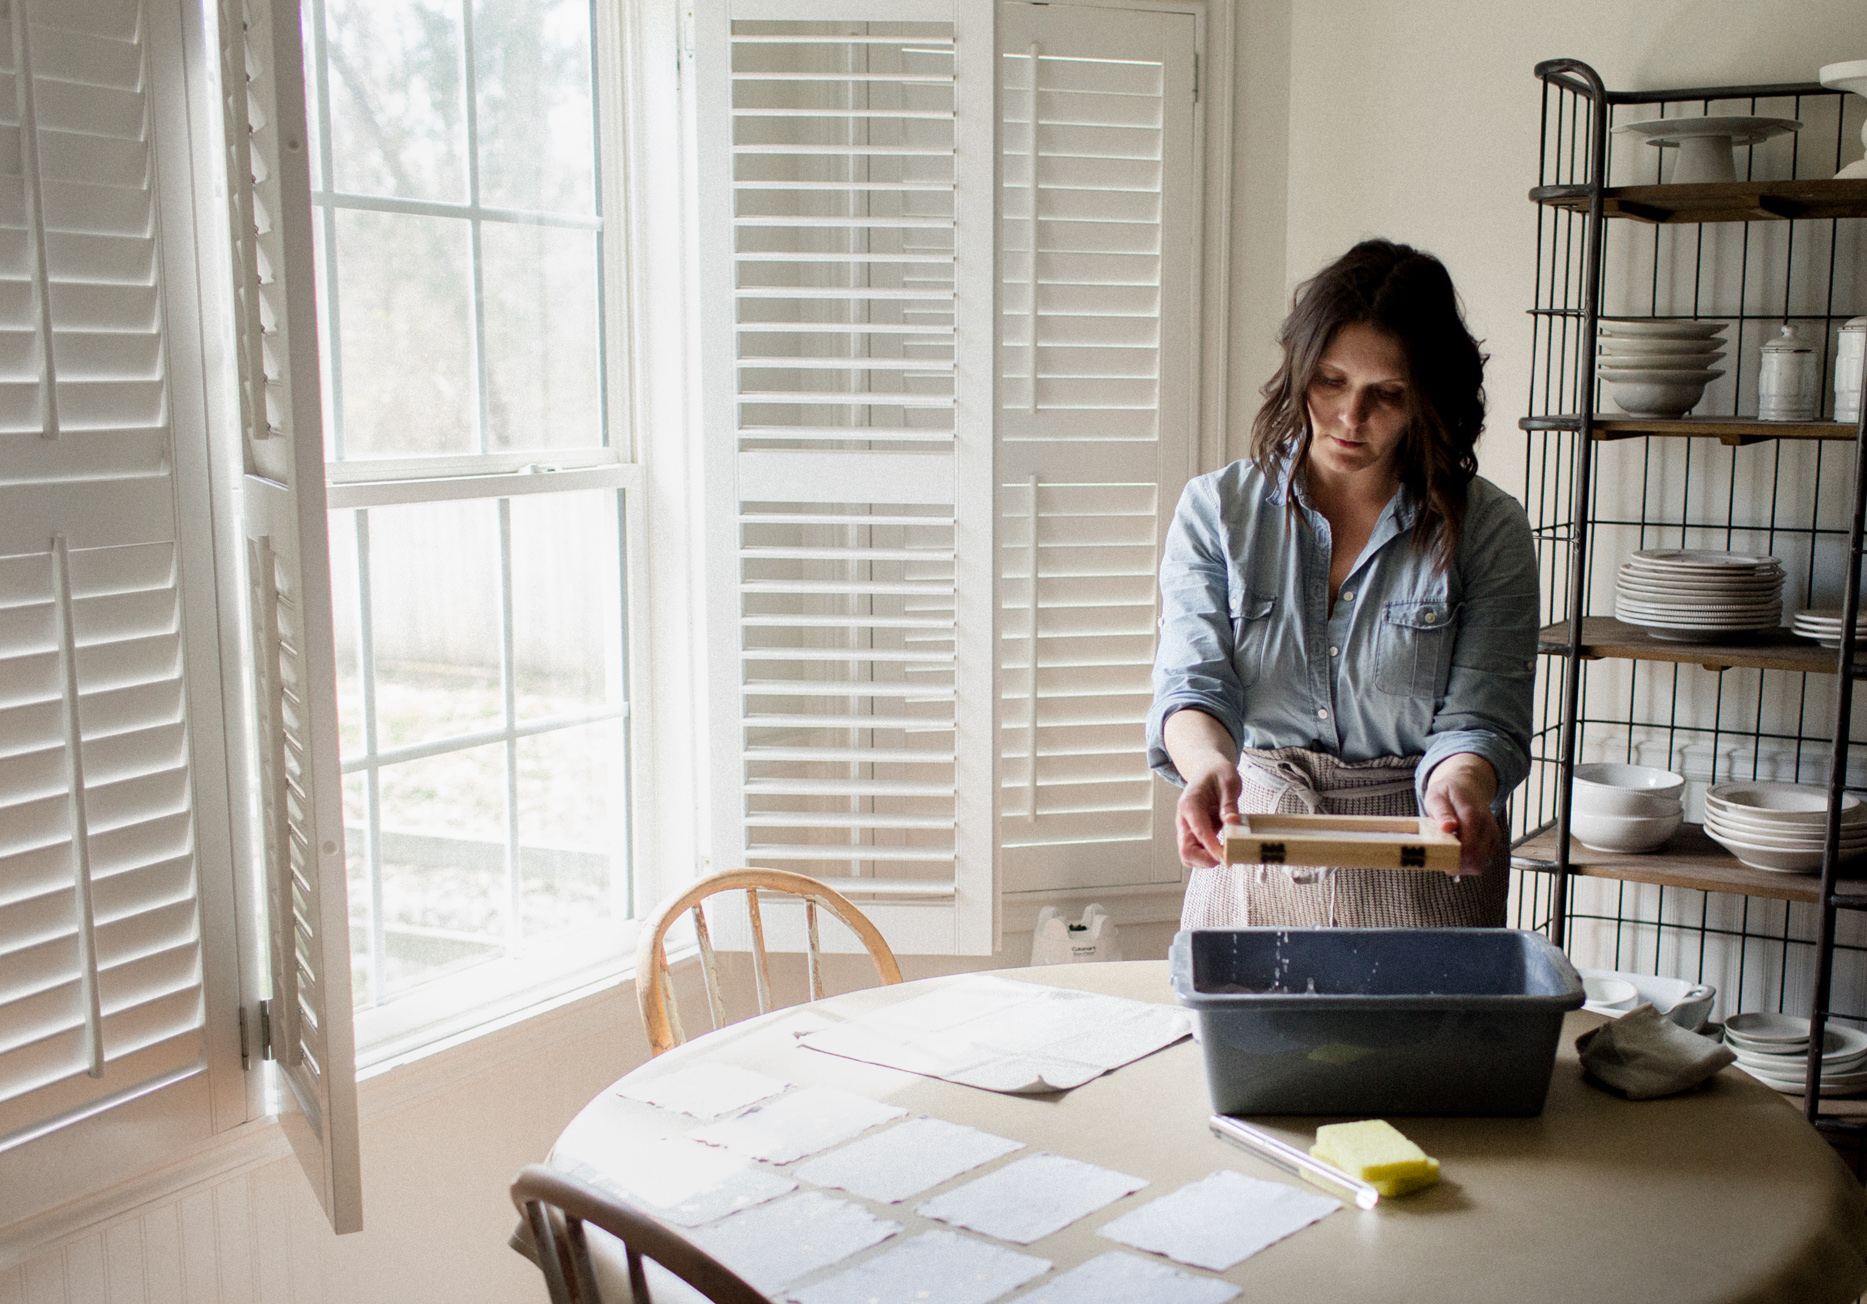
Papermaking has been on my list of handicrafts to try for years! The process of making something simple yet bespoke is an invitation to slow down and focus on the task at hand, and I’ve always found the beautiful texture and timeless deckle edge of handmade paper to offer a rich tactile experience. Although the pursuit of making paper is one I’ve personally desired since long before having kids, there is something truly special and memorable about inviting my toddlers into the creative process, and learning a new craft alongside of them.

You really do not need a kit to make paper, but when I saw this starter kit on sale for less than $28 at Michael’s, I figured for the price, I probably couldn’t purchase what I needed separately. There are even plenty of tutorials for making a simple mould and deckle online, should you choose to go that route. For me, having it all sourced in one simple bundle made a long-time goal seemingly more attainable, so that is where I chose to start. (This post isn’t sponsored, by the way. I paid the same retail (sale) price any consumer would’ve, and have no affiliation with the store.) As a brief review of this particular kit, overall I am very satisfied with it; however, I have added a number of microfiber cloths (they really need to be dry, but get wet after making a single sheet, so having additional cloths on hand was really helpful for making several sheets of paper), and after just two uses, the sponges are falling apart, so I am already looking for a more durable replacement.
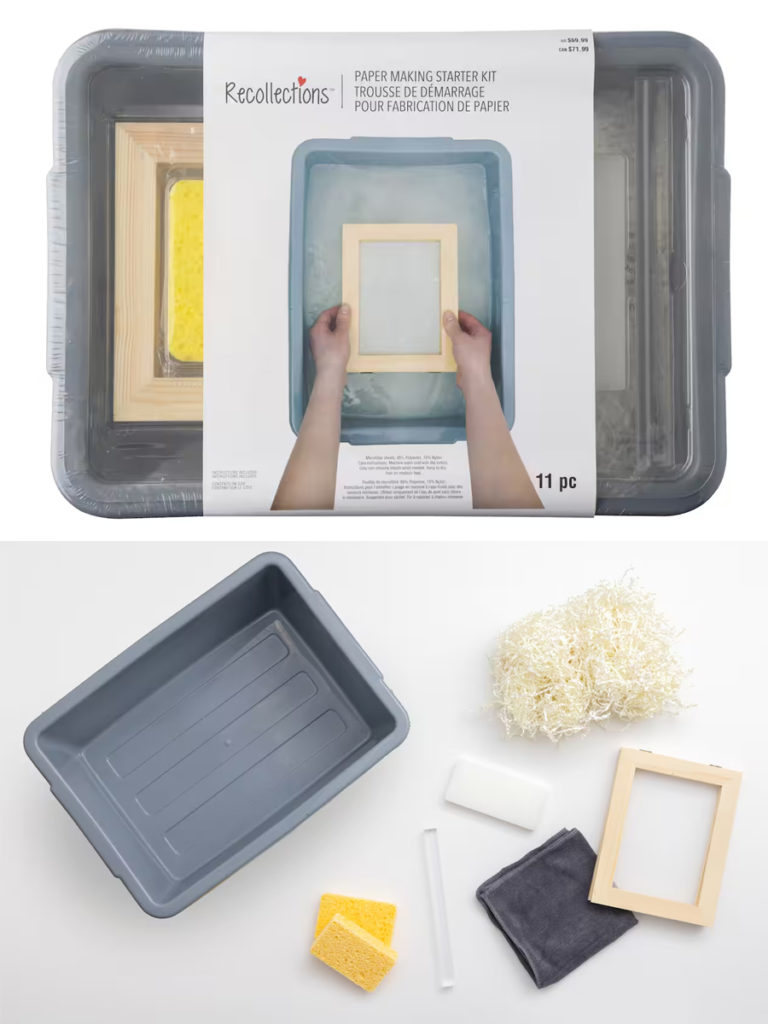
Whether you choose to source your supplies individually or as a collection, or already have everything you need at home, let’s take a closer look at the materials you’ll need to gather, and the rather simple process of making (or recycling) your own paper.
Papermaking at Home
Materials Needed:
equipment::
blender
vat (plastic tote or bin)
microfiber cloths
sponges
roller
mould and deckle
consumable supplies::
paper shreds
mix-ins as desired
The process:
02. Place paper bits into blender and cover with water. Blend into a slurry/pulp.
03. Pour slurry into your vat (bin).
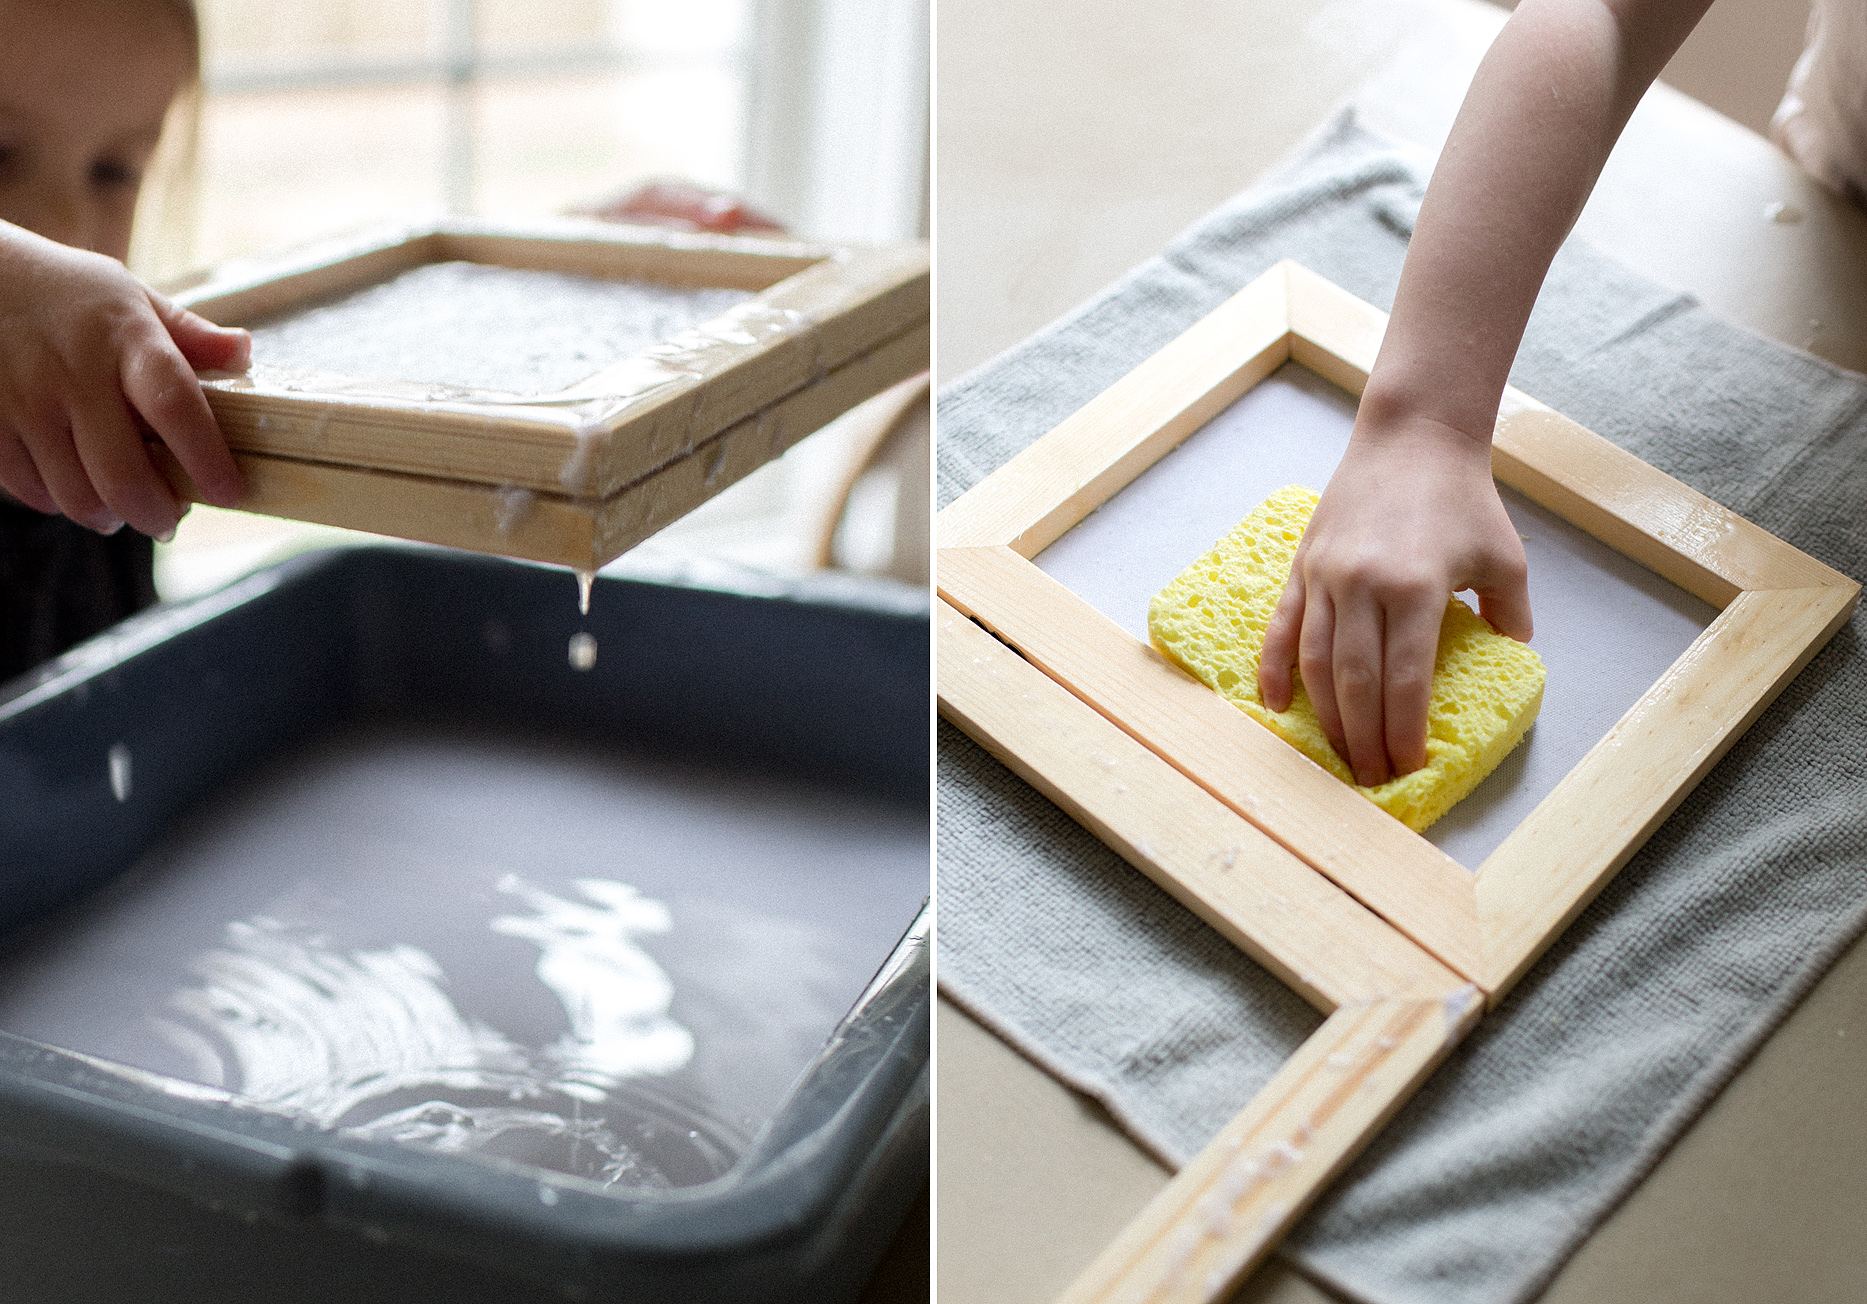
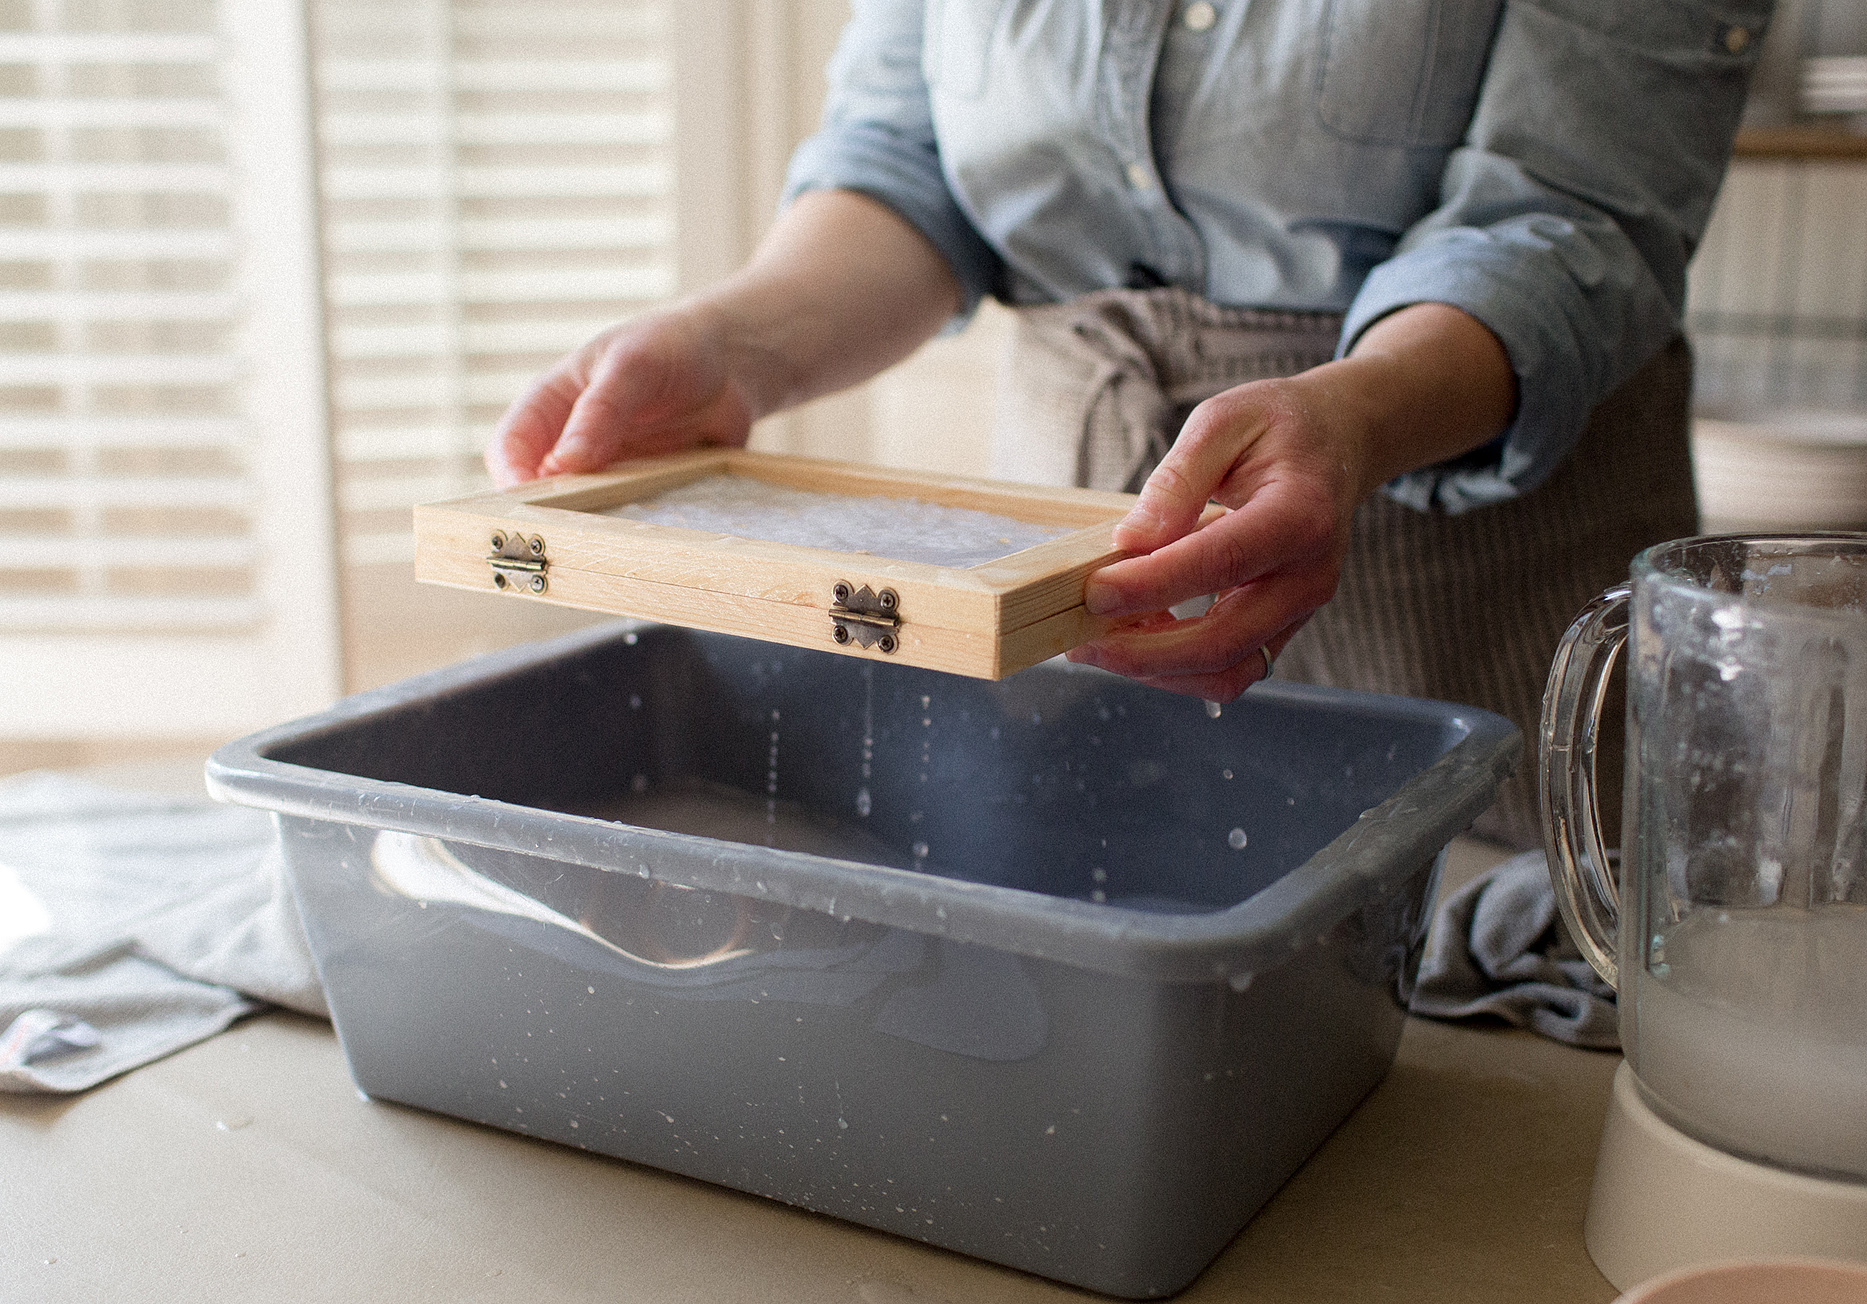
05. Agitate your pulp just prior to this step. Lower your mould and deckle with the deckle side (the empty frame) up. Gently swirl it around a bit to evenly distribute the pulp while your mould is still in the water. The more pulp you collect, the thicker your paper will be.
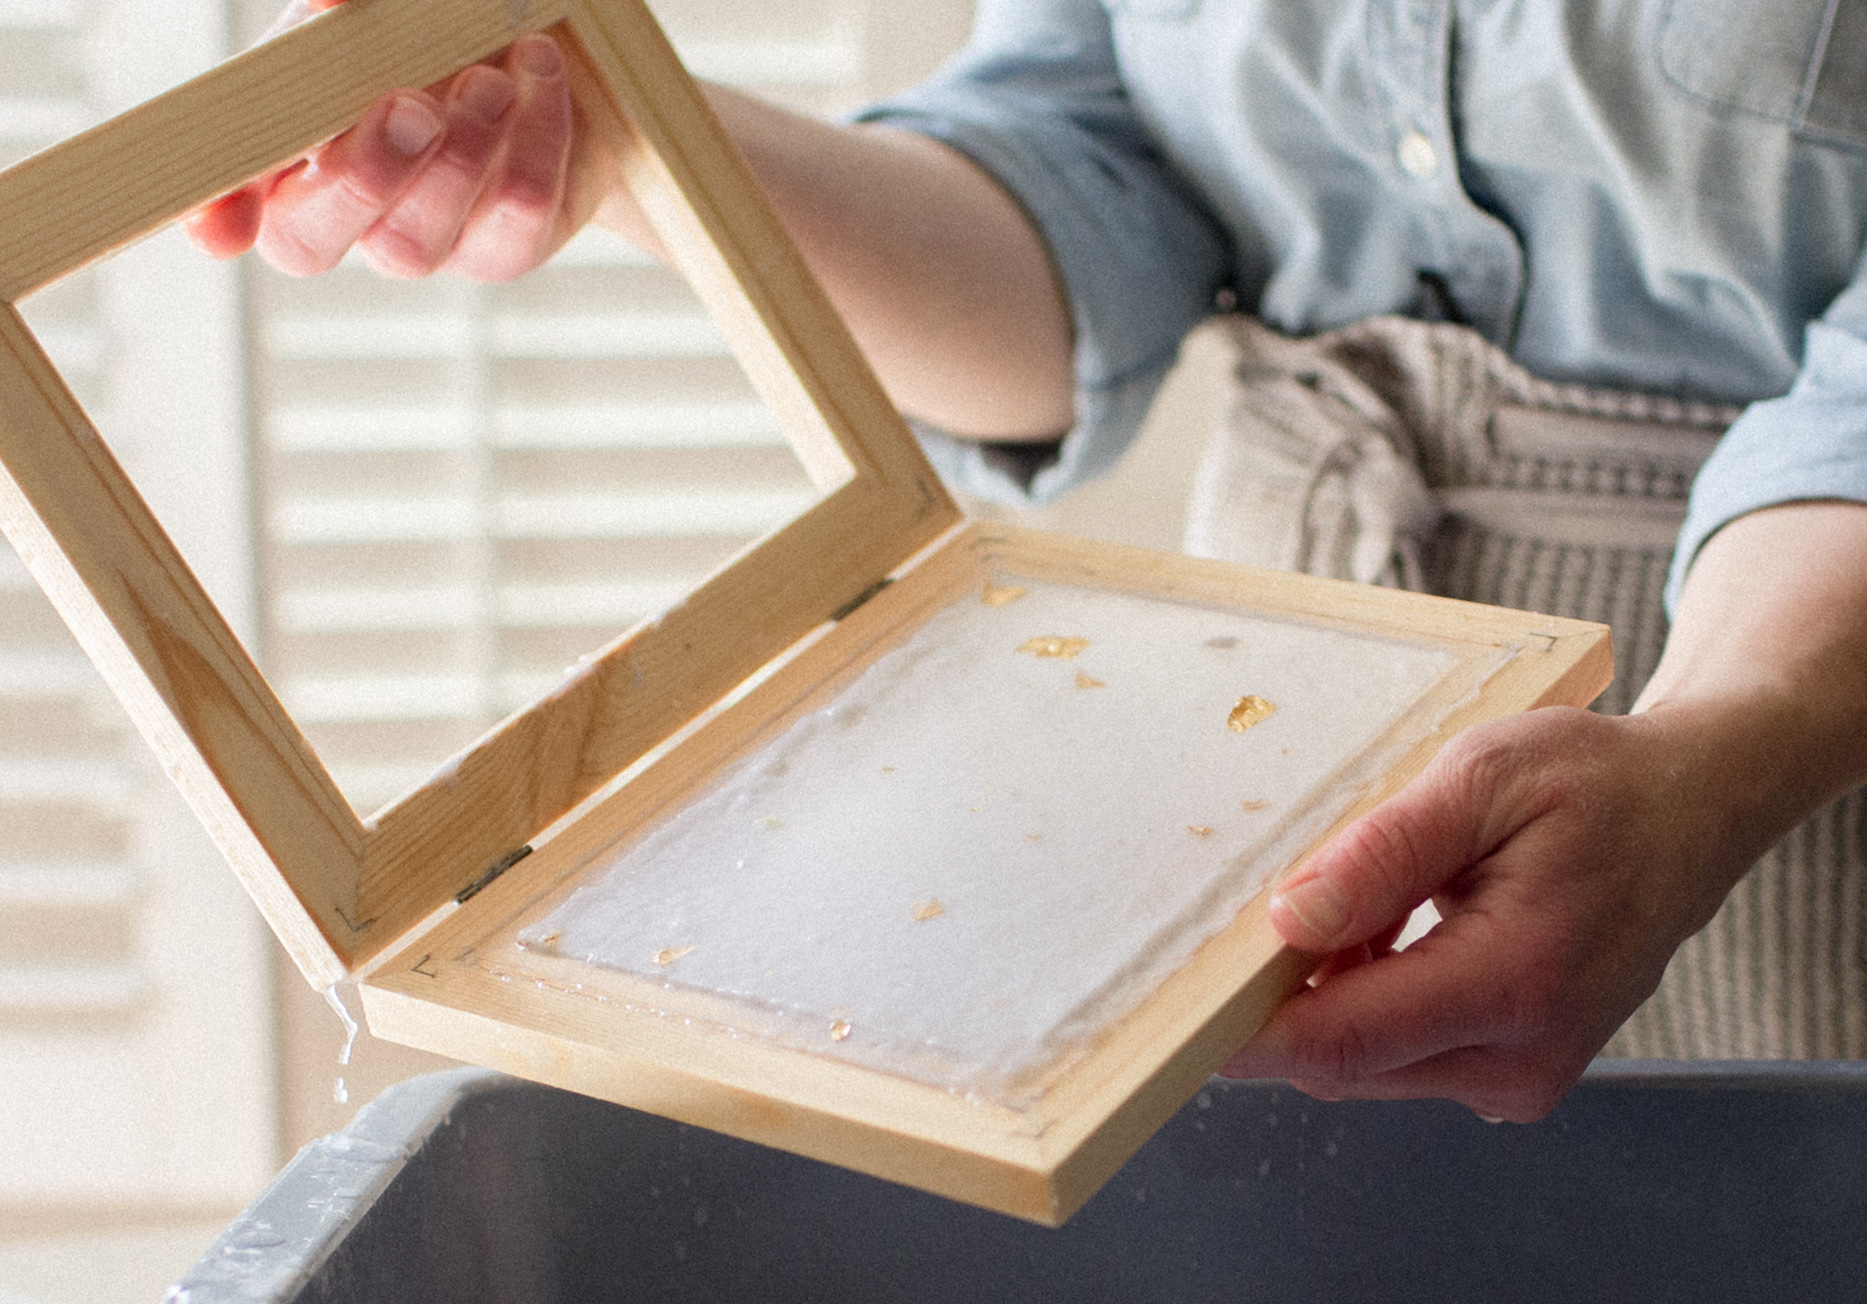
06. Drip excess water from frame, tilting it slightly after about 20 seconds to allow more water to drain. Remove/open the deckle, and flip the mould onto a dry cloth with the newly formed paper facing down.
07. With the mould screen still covering your sheet, soak up water with a sponge.
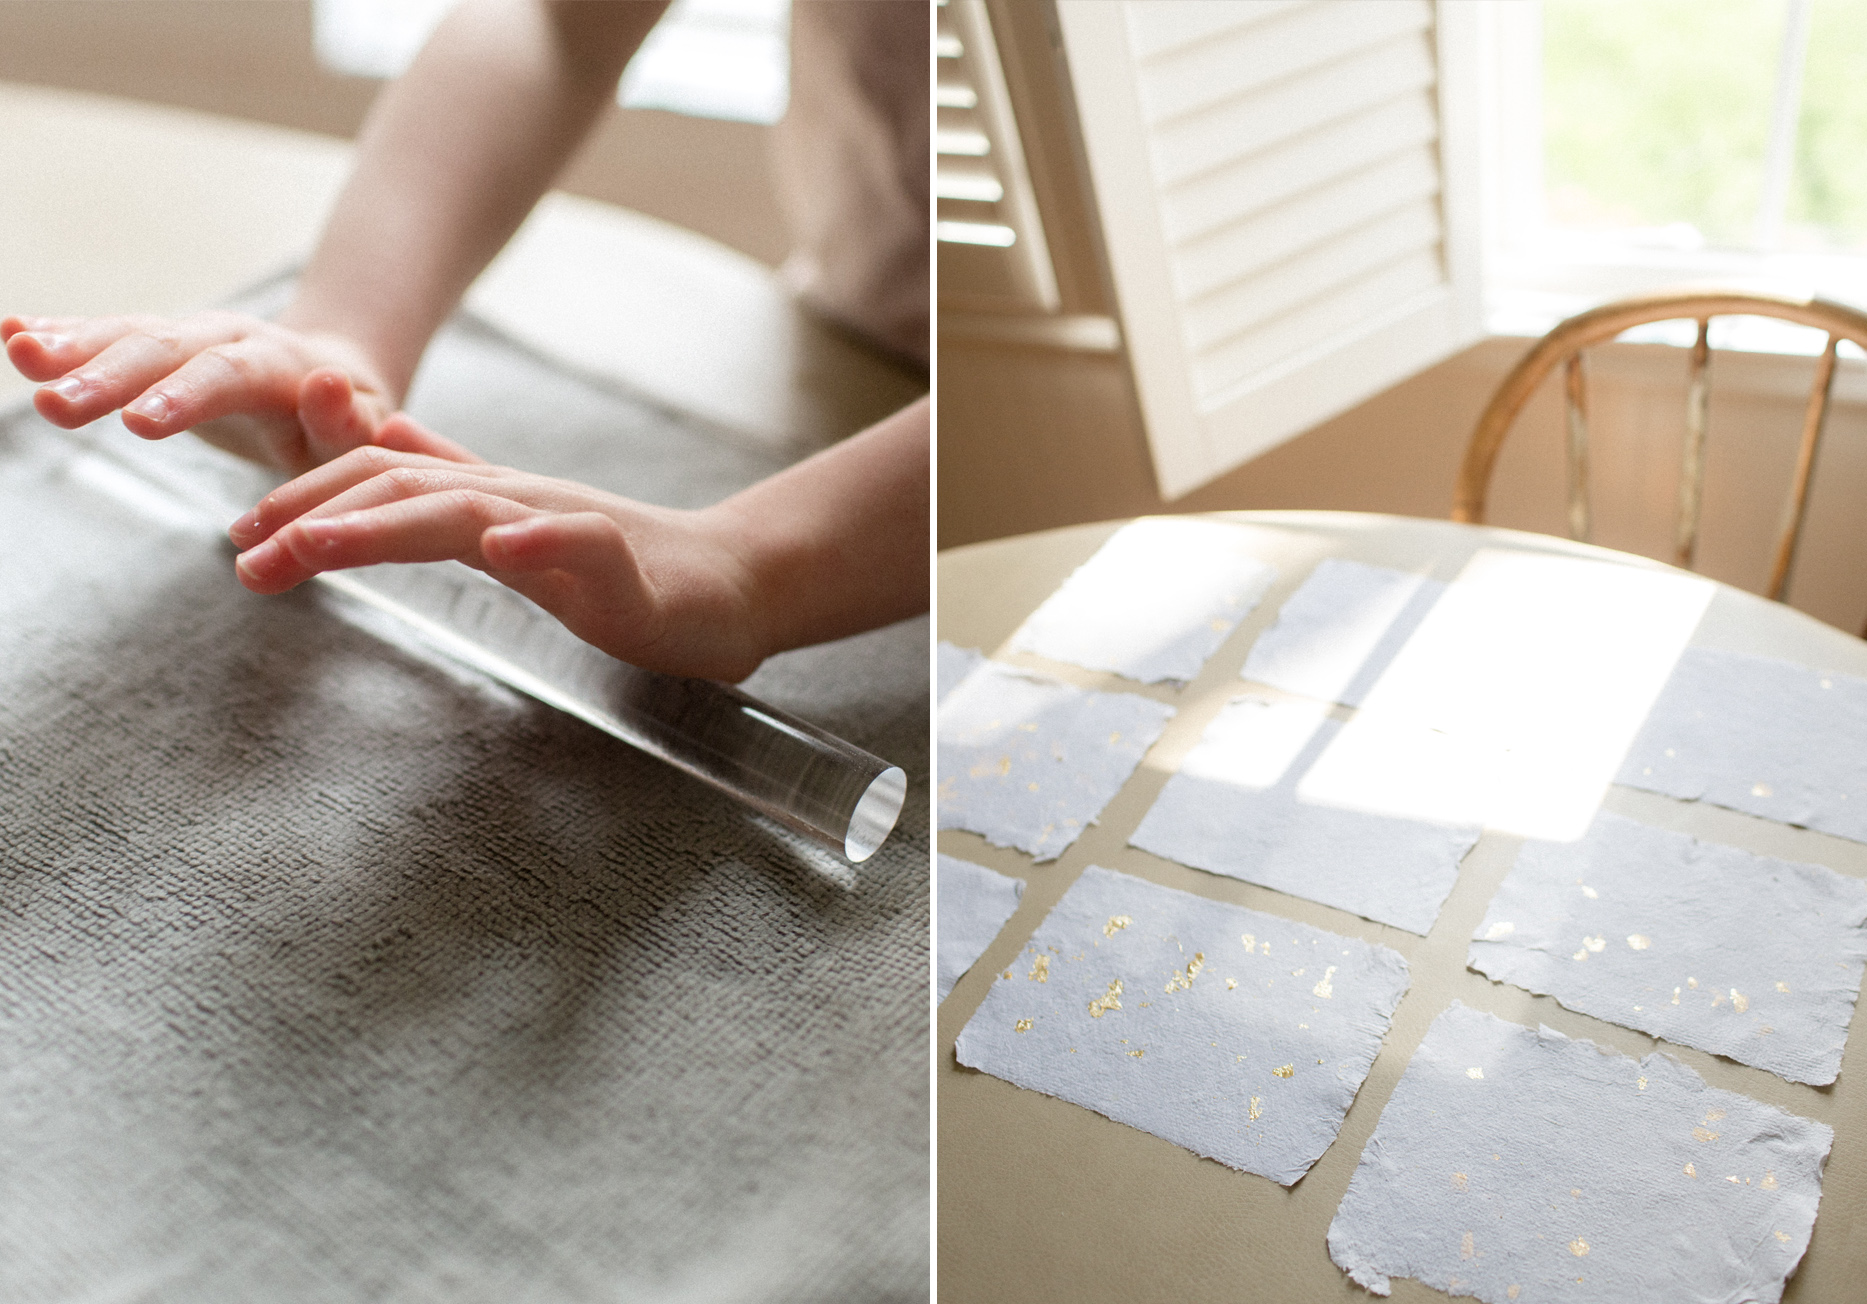
08. Remove the mould and cover with a second microfiber cloth. Use the roller to press out remaining water.
09. Remove paper from cloths and allow to dry. (You could also use a dryer to speed this process up if preferred.)
– You can use plain white paper if desired. The kit I linked above includes white paper shreds, which we used on our first attempt. My goal, though, is to include papermaking as a regular arts and crafts activity, and to do so recycling paper waste, making it more sustainable. Any matte paper will work well, just know ink on the paper will impact the color, and as such, paper with lots of pictures won’t be ideal. Using mostly letters and printed pattern scraps, ours turned out light gray, which I actually love.
– If your paper curls upon drying, you can use an iron to flatten it back out.
One final note on creating with toddlers...
As a creative, it has been important for me to invite them into my creative space. Sometimes, out of necessity – uninterrupted, peaceful time and space to craft is a rarity in this season. But also, because my hope is for our children to recognize that even items as simple and readily available as paper take time and effort to make. And out of a desire to cultivate a love within my children for the creative process itself – for problem solving, and asking questions, for the confidence that is developed upon bringing something to life that wasn’t there before. It isn’t always easy, and it’s rarely idealistic, so I must release my own expectations and desire to control in order to allow room for their messy mistakes and growth.
If you have any questions, please don’t hesitate to send them my way!
Hugs,
m